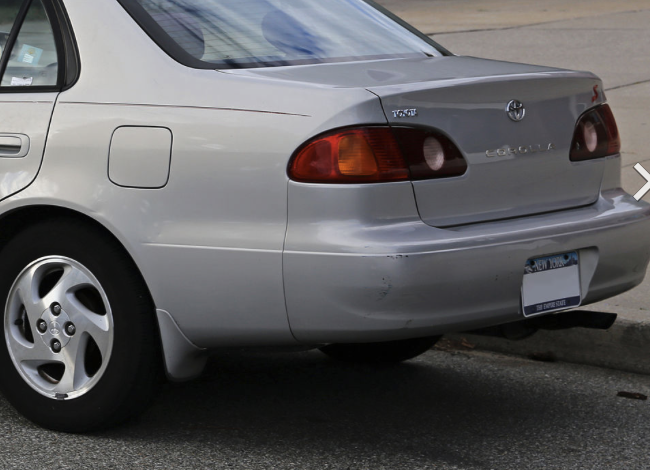
Welcome to our guide on taillight replacement. Whether you’re swapping out bulbs or the entire assembly, we’ve got you covered with step-by-step instructions.
Find Parts on Amazon: You can find the parts here.
Tools Needed:
- Phillips screwdriver
- 10mm wrench or socket and ratchet
Replacement Process:
- Remove Tail Light Cover:
- Pry out the cover using a screwdriver.
- Unscrew the Phillips screws securing it.
- Replace Bulbs (if needed):
- Rotate the bulbs counterclockwise to remove them.
- Insert new bulbs and turn clockwise to secure.
- Remove Tail Light Assembly:
- Locate and remove the three 10mm bolts holding the assembly.
- Use a wrench or socket to loosen and remove the bolts.
- Disconnect Electrical Connector:
- Pull the assembly away and disconnect the electrical connector.
- Install New Tail Light Assembly:
- Connect the new assembly’s electrical connector.
- Align the assembly and firmly push it into place.
- Secure with Bolts:
- Tighten the three 10mm bolts securely.
- Reattach Tail Light Cover:
- Slide the cover back into position.
- Secure it with the previously removed Phillips screws.
- Final Steps:
- Reassemble any other components removed during the process.
- Ensure all components are properly secured.

